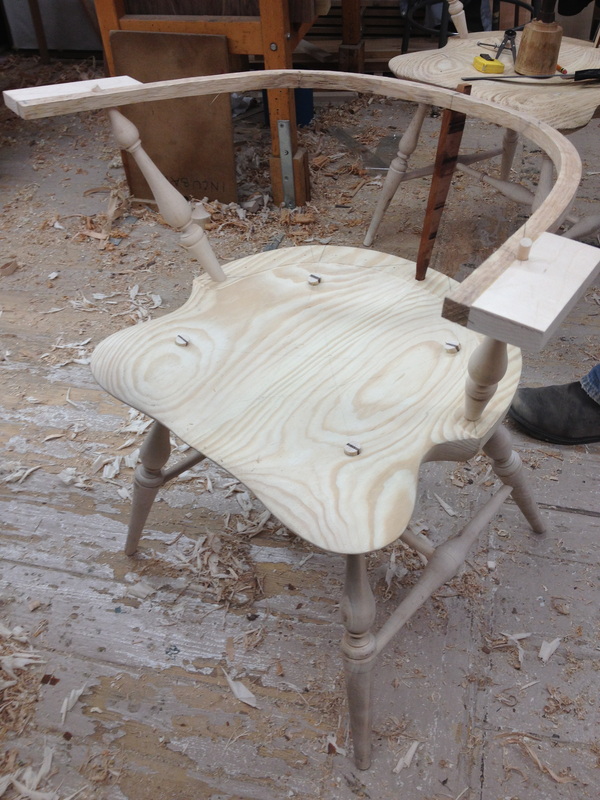
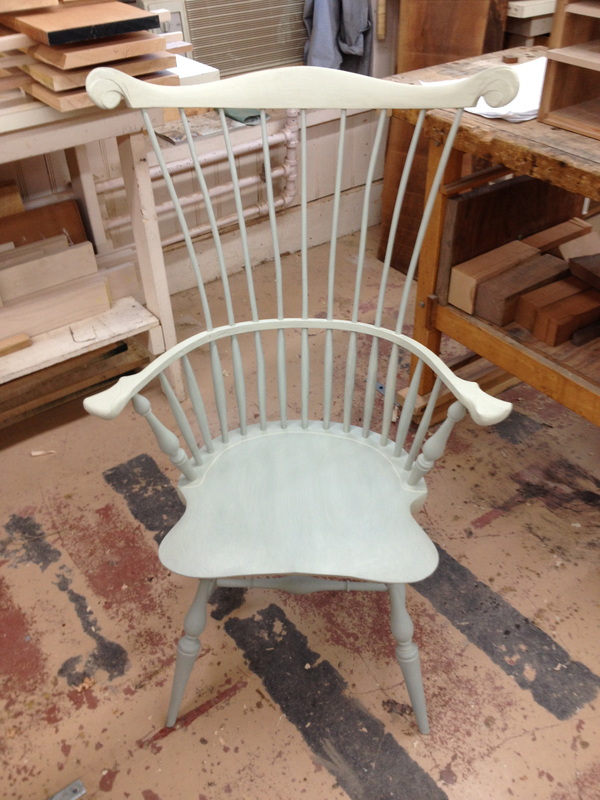
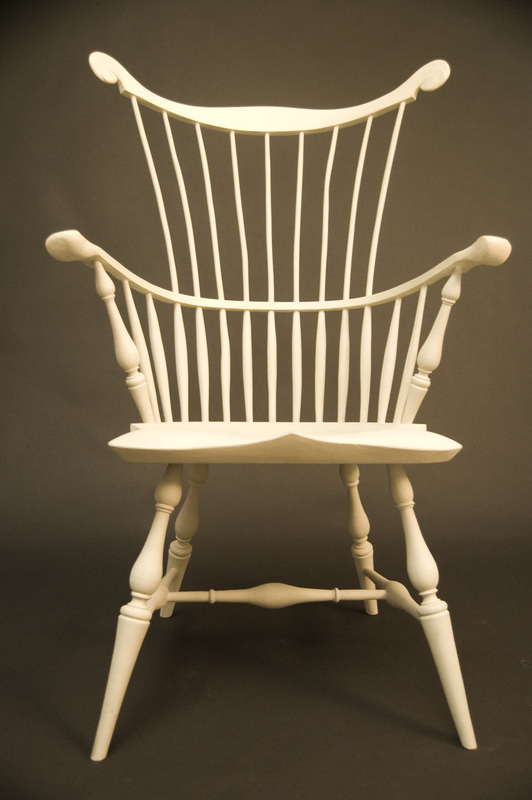
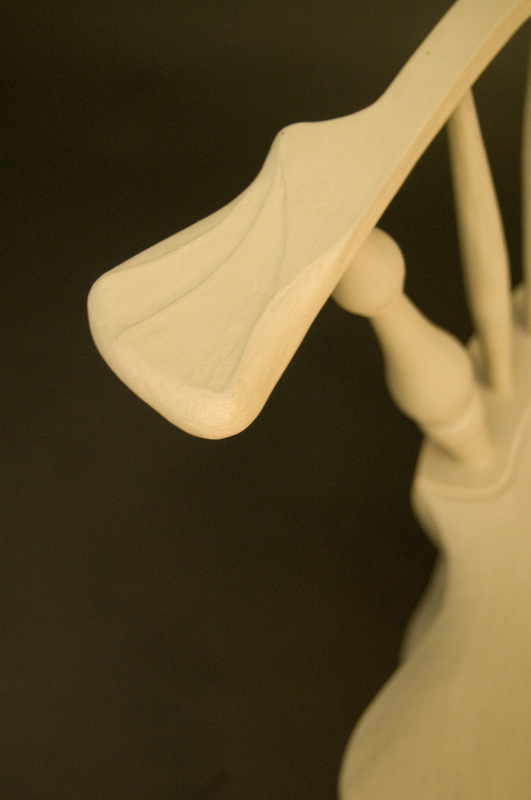
After nearly two years at North Bennet, I have succumbed to the inevitable and have made a traditional piece. Leaving this place without doing so would be a waste. There's too much to learn here from the brilliant instructors and a piece like this is packed with lessons. As it turns out, I thoroughly enjoyed it. Over my time here I have gained a reverence for traditional forms that I didn't have when I enrolled. By studying pieces and makers, I have developed an eye for the subtle differences in proportion, curves, and details and have fluid ideas for what I find beautiful and successful. These ideas are malleable and in constant flux and draw from many different sources, including my architectural education on through my time in Vermont and at NBSS. This is not to say I will from now on be making furniture that would slip seamlessly into the White House (though if you need something Obama, call me!) but instead means I am working on a basic framework for design that will help me in the future.
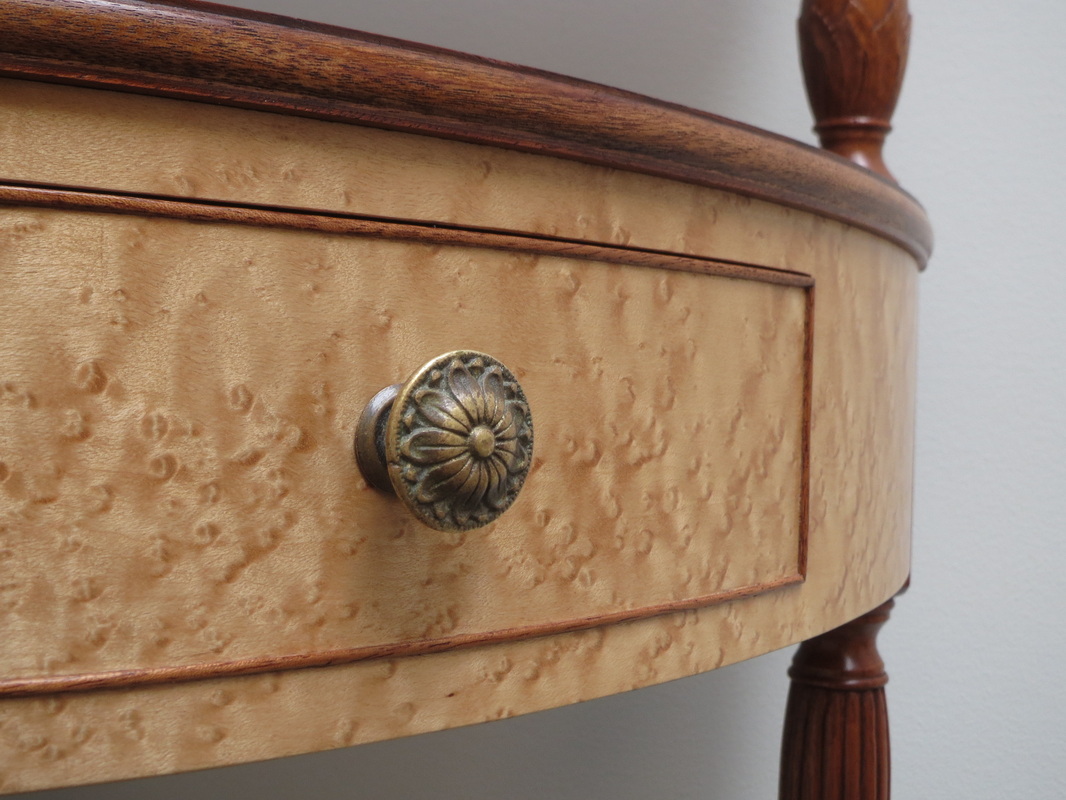
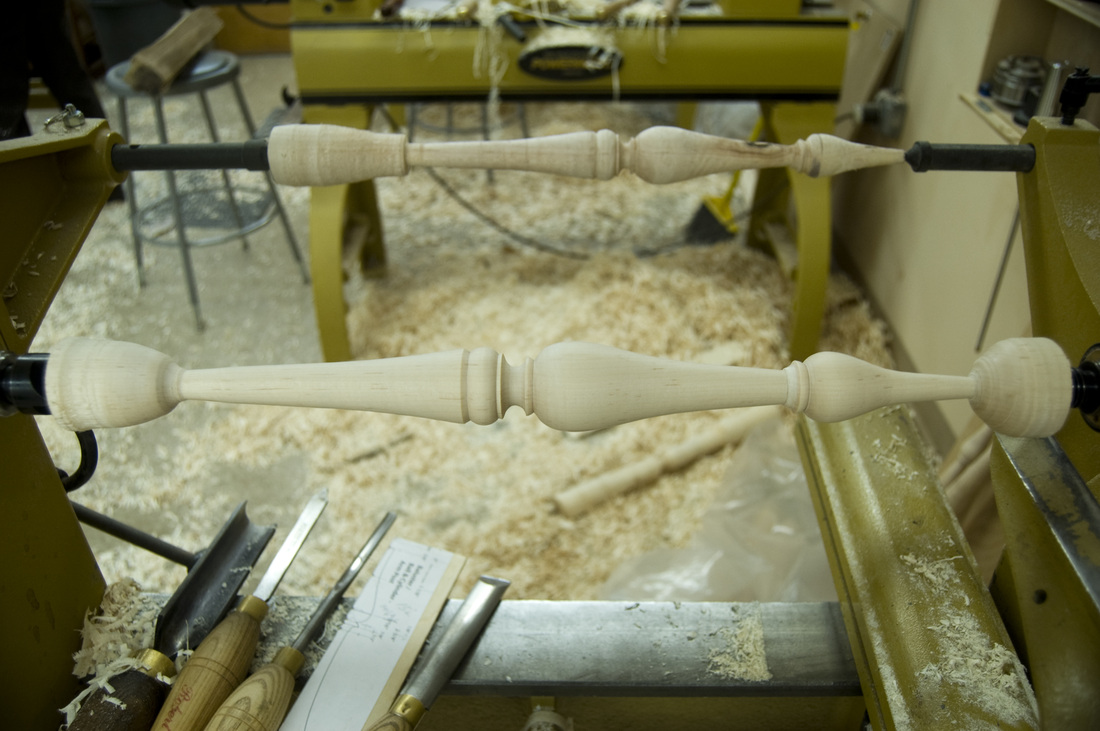
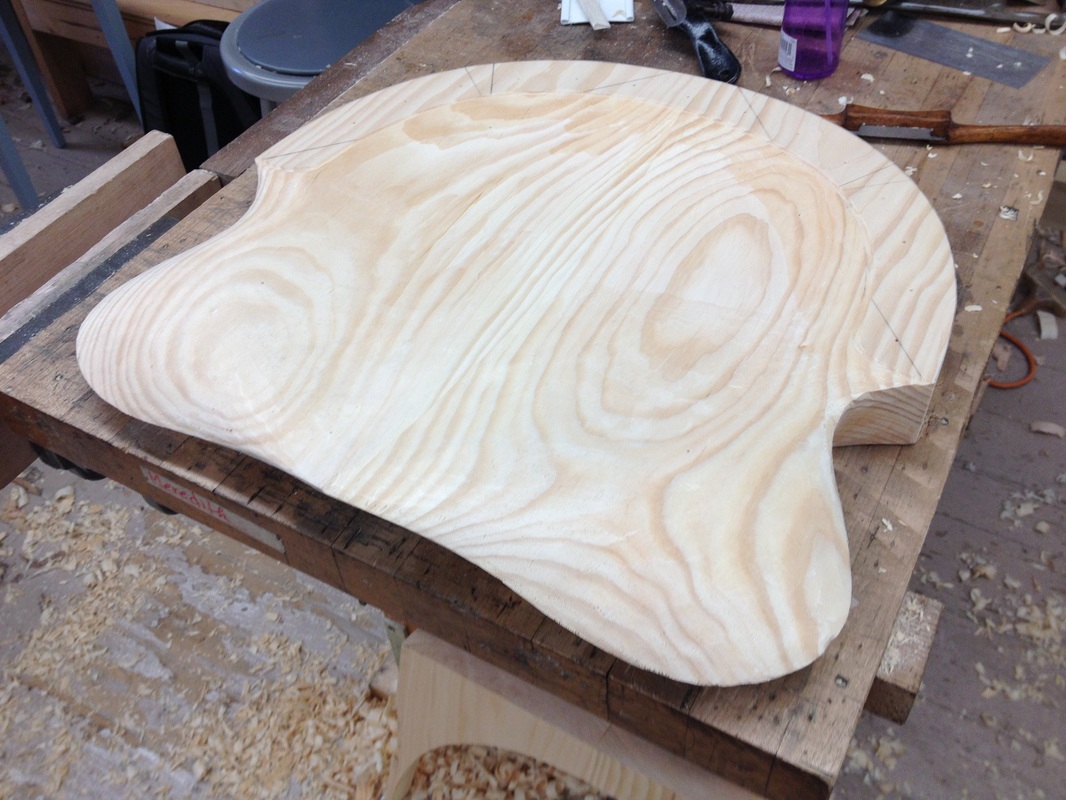
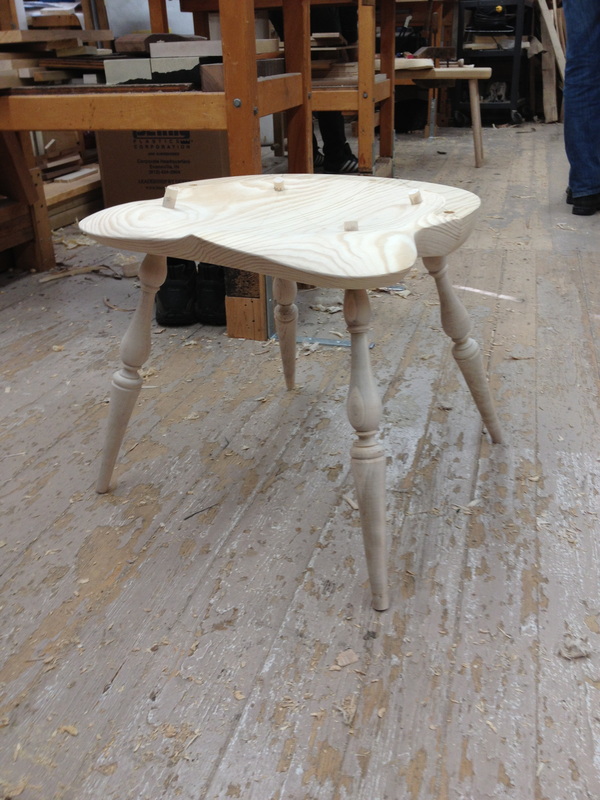
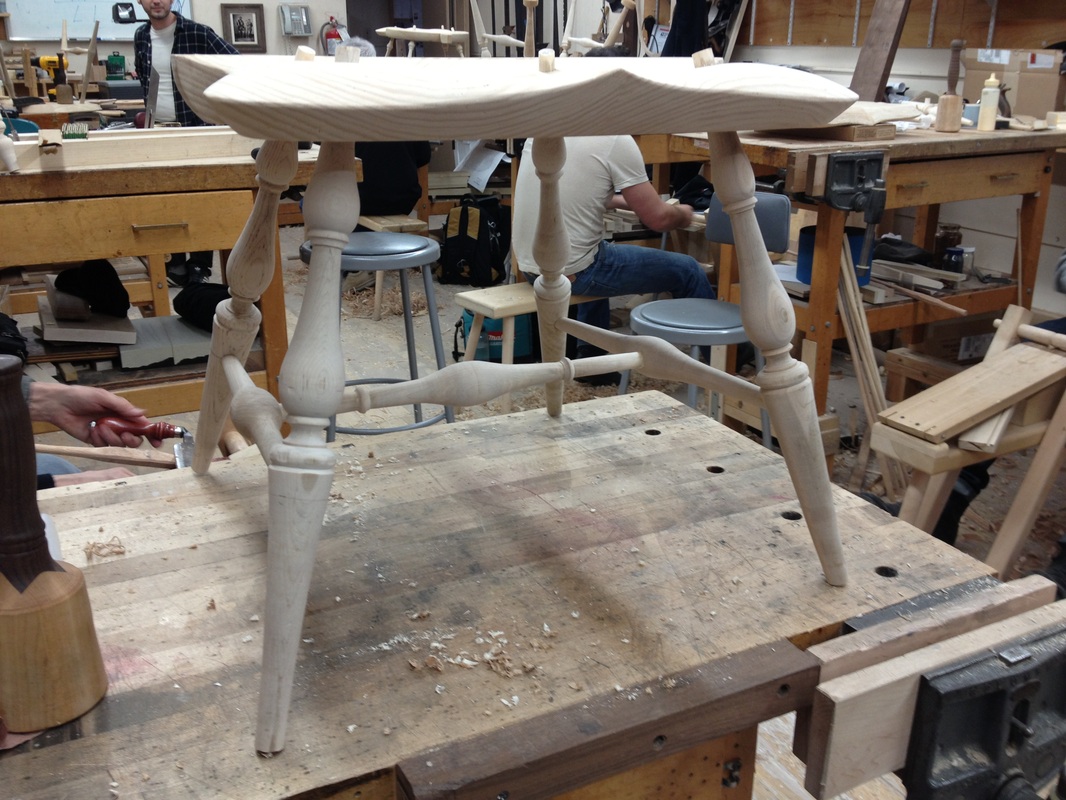
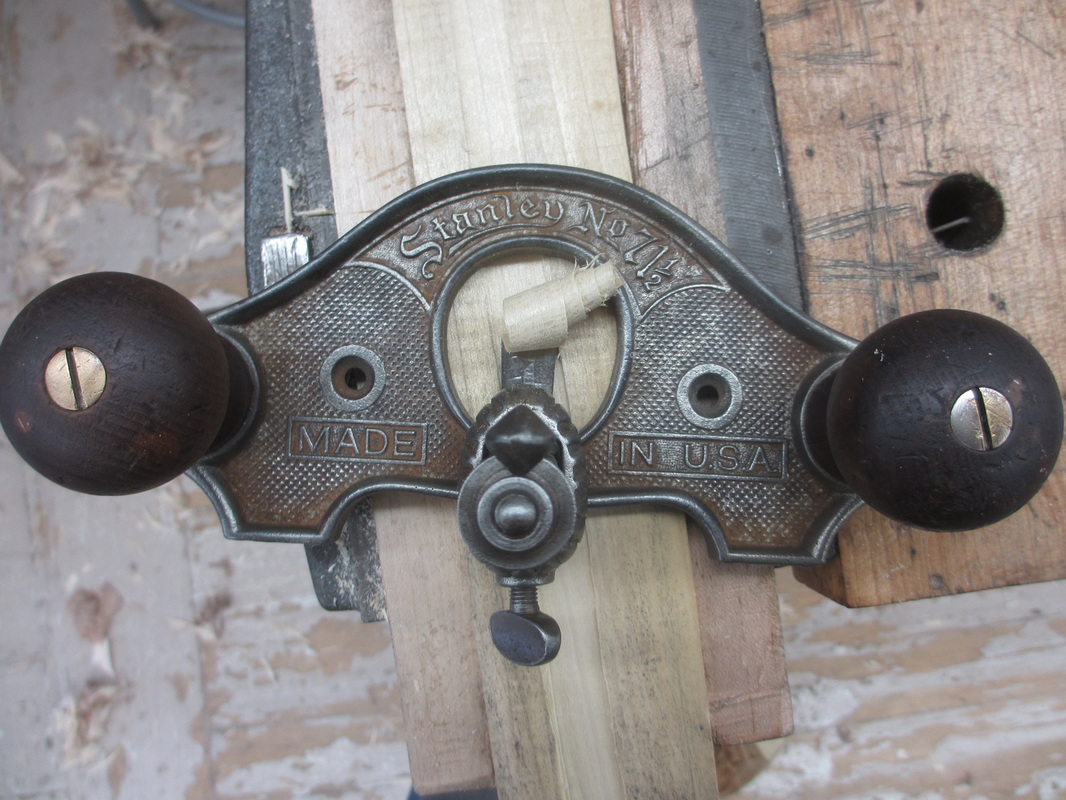
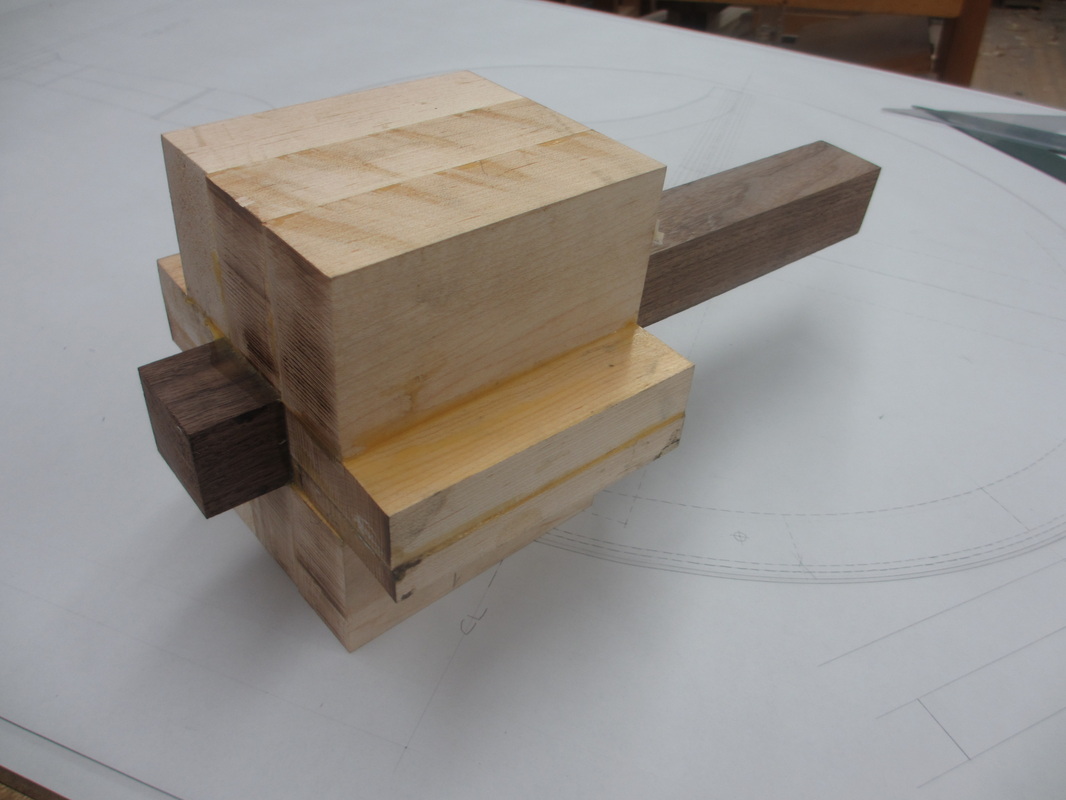
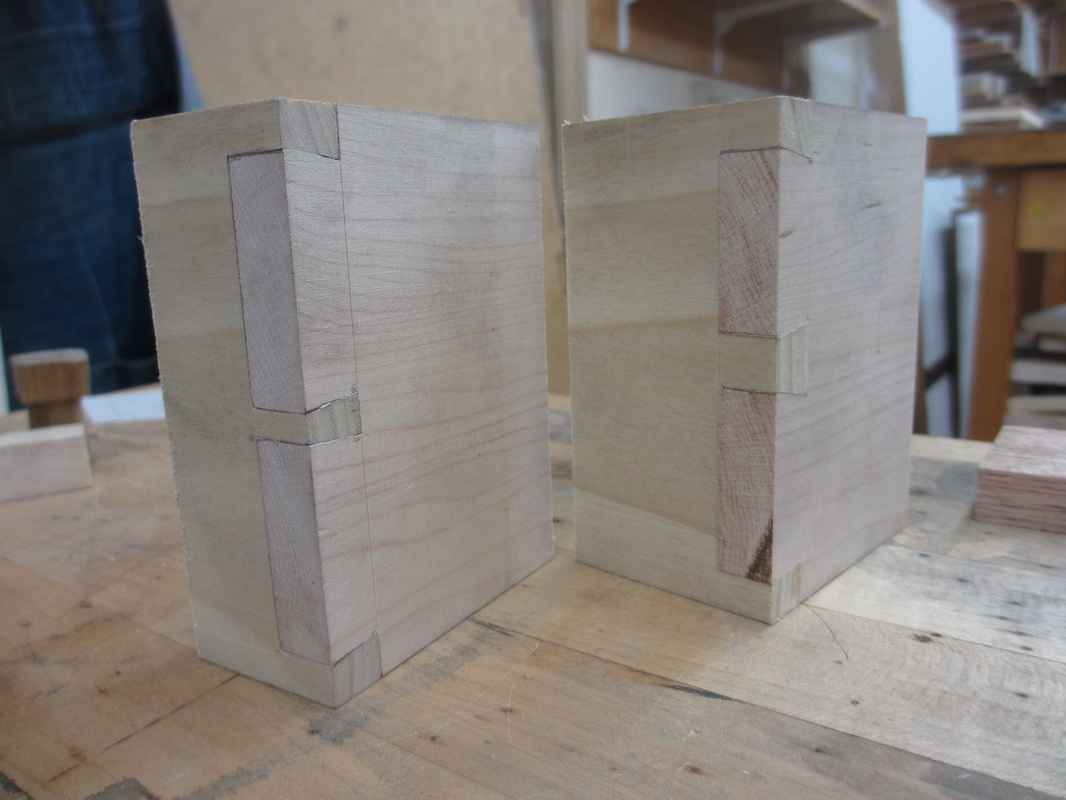
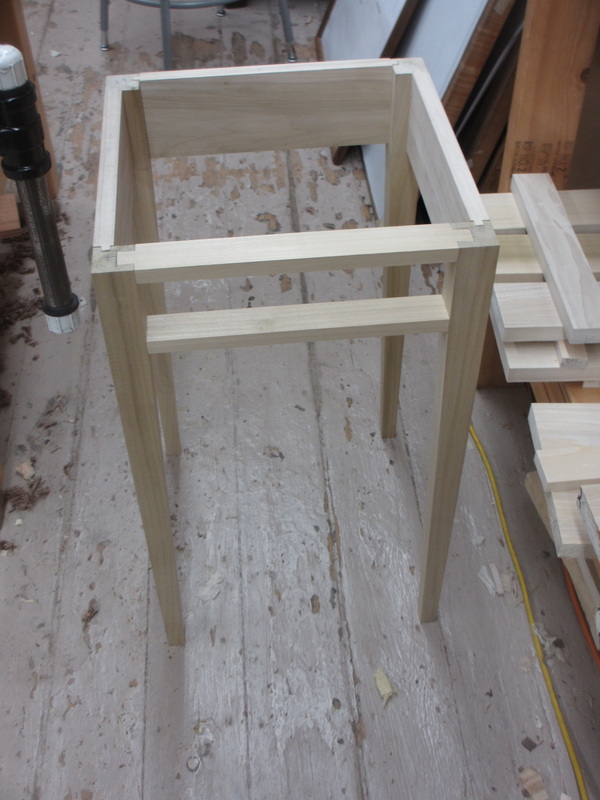
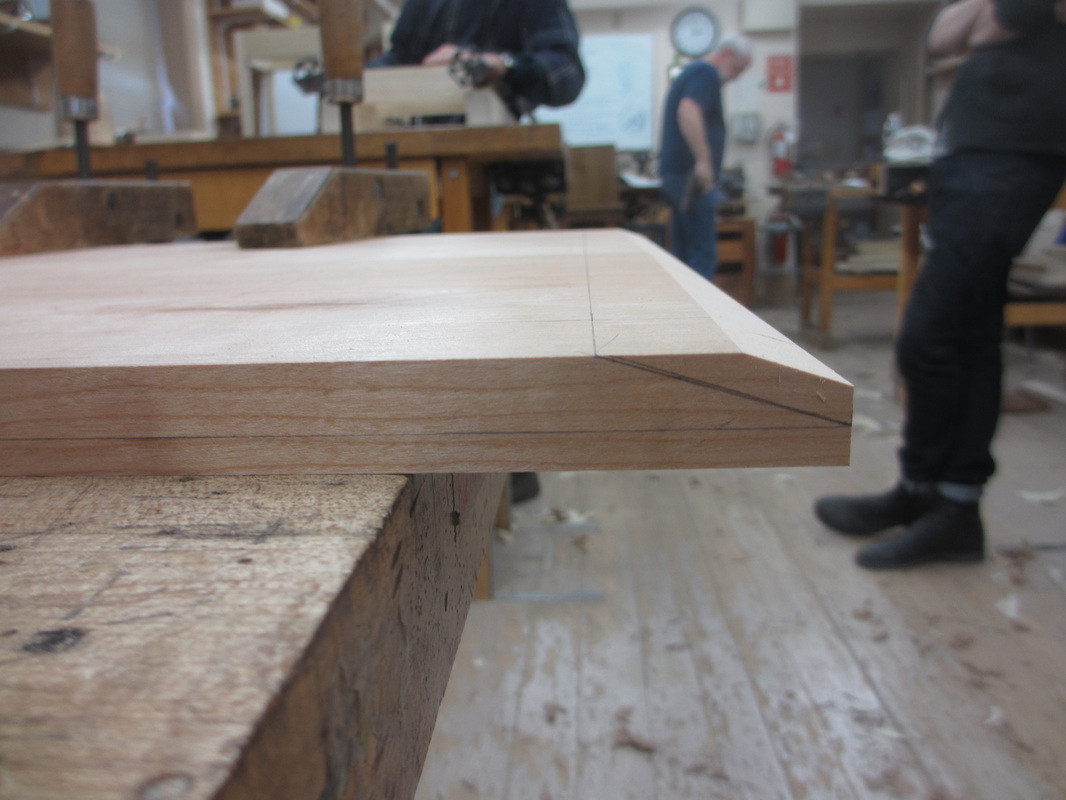
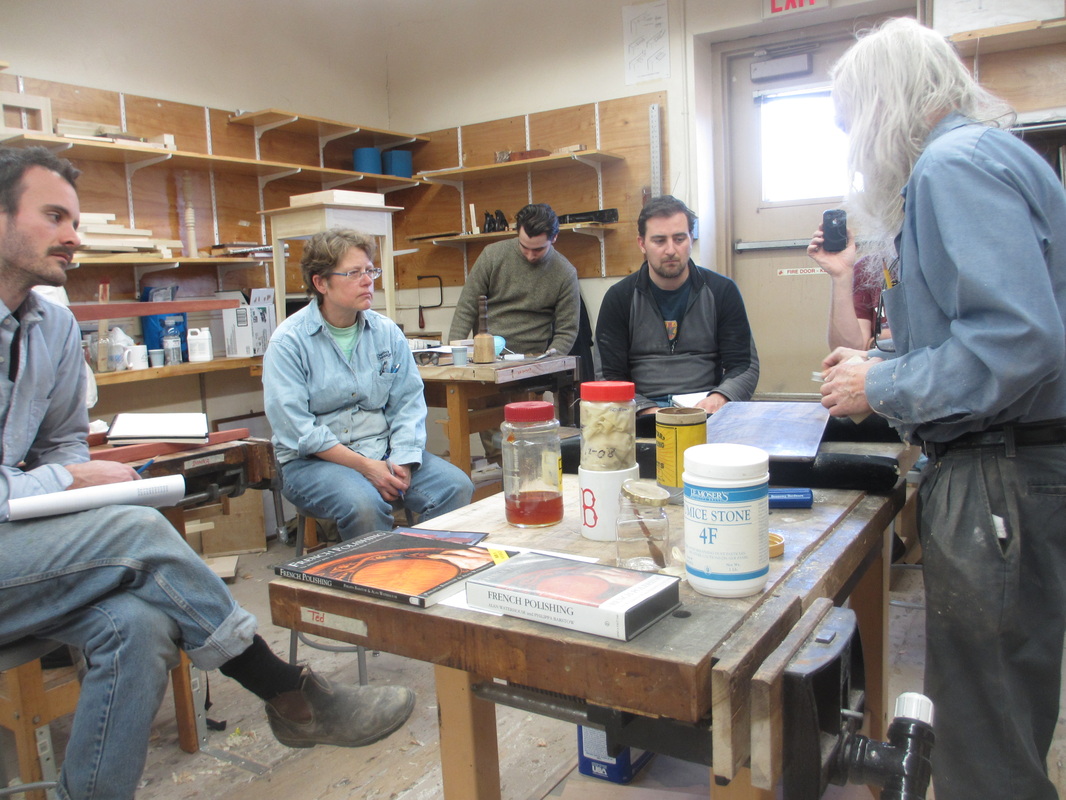
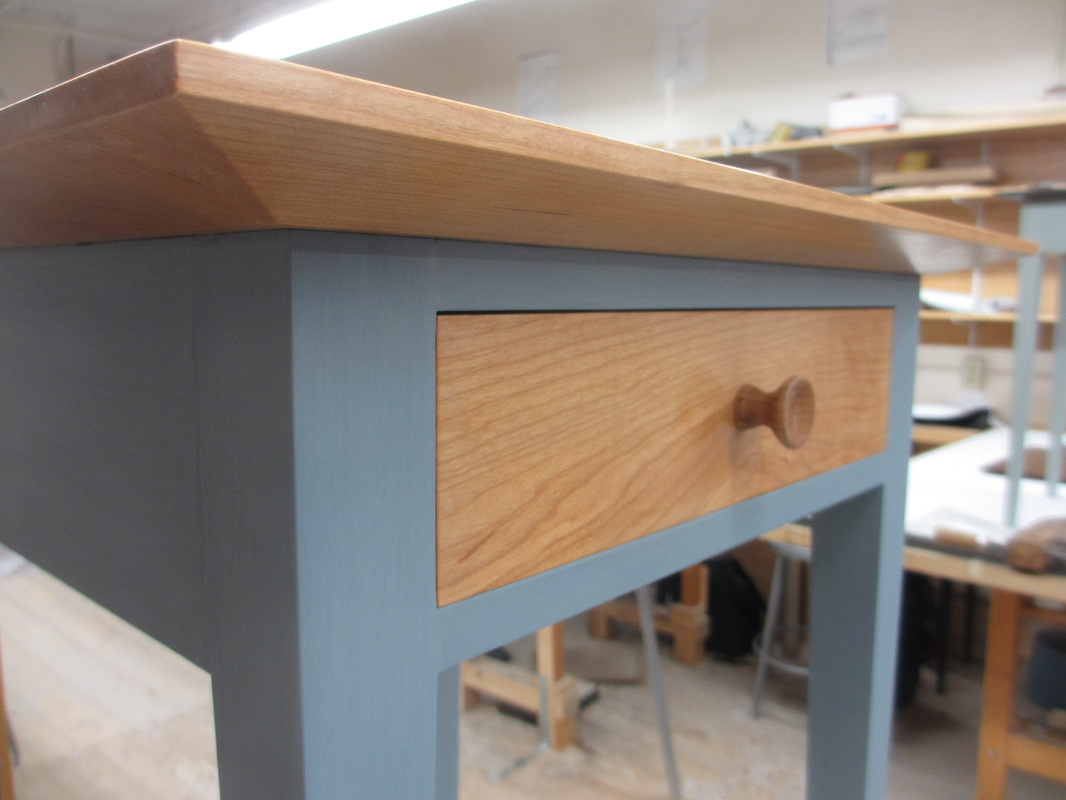
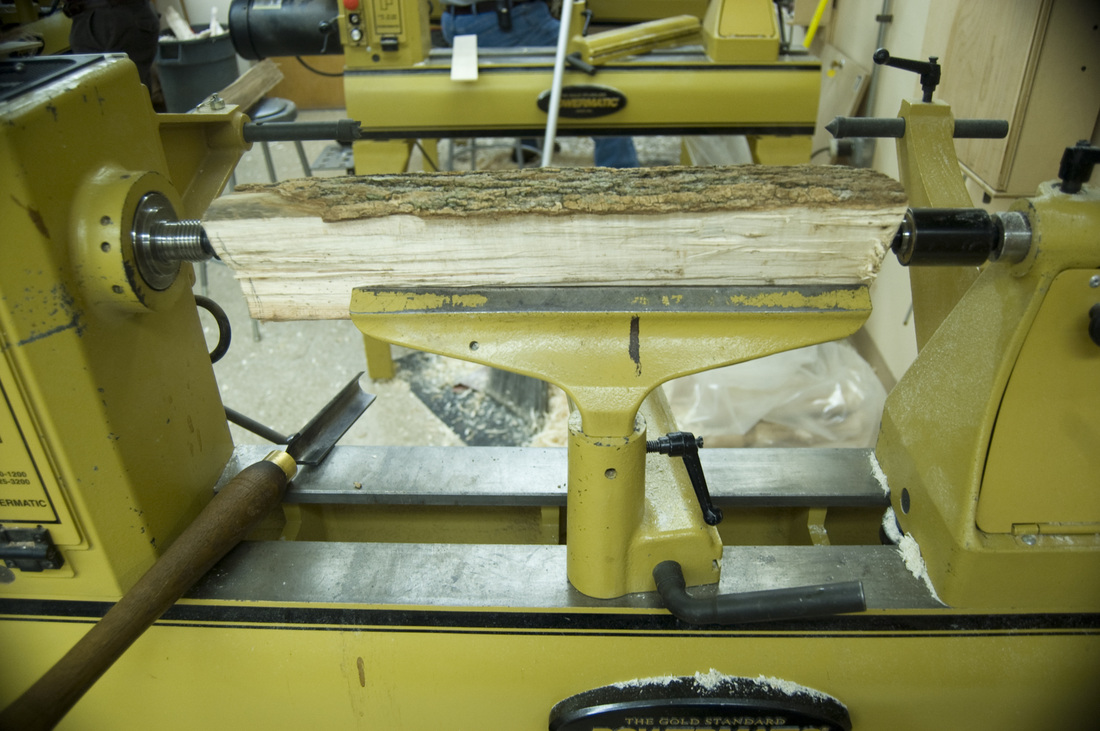
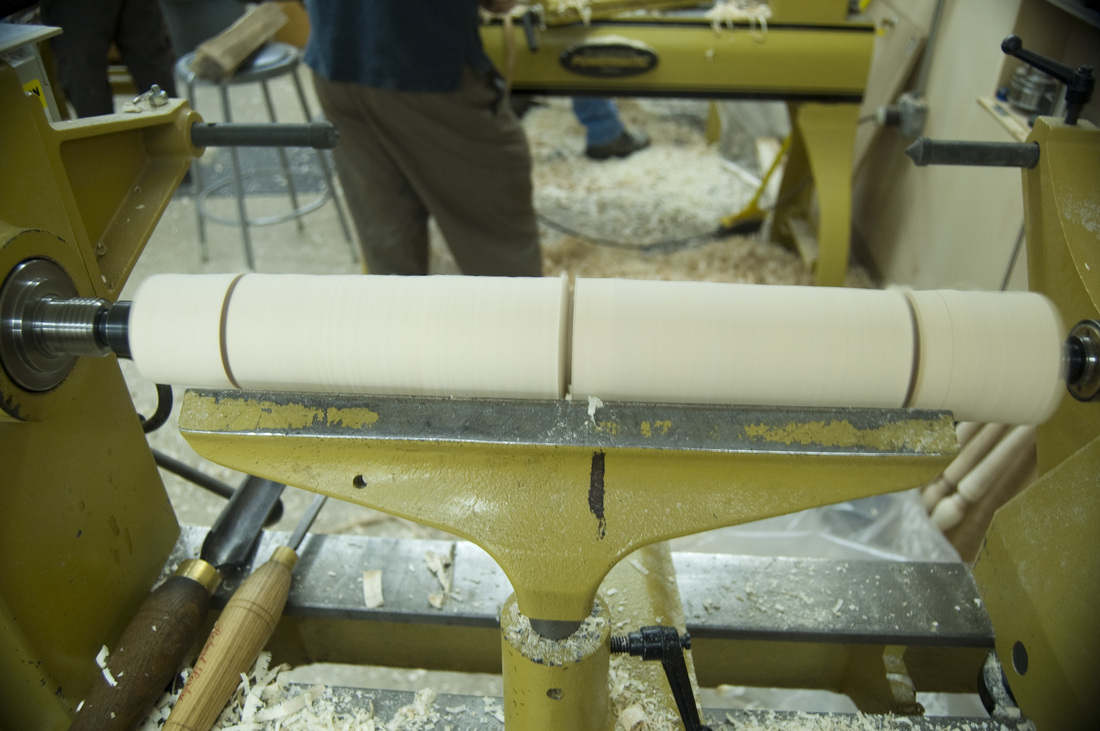
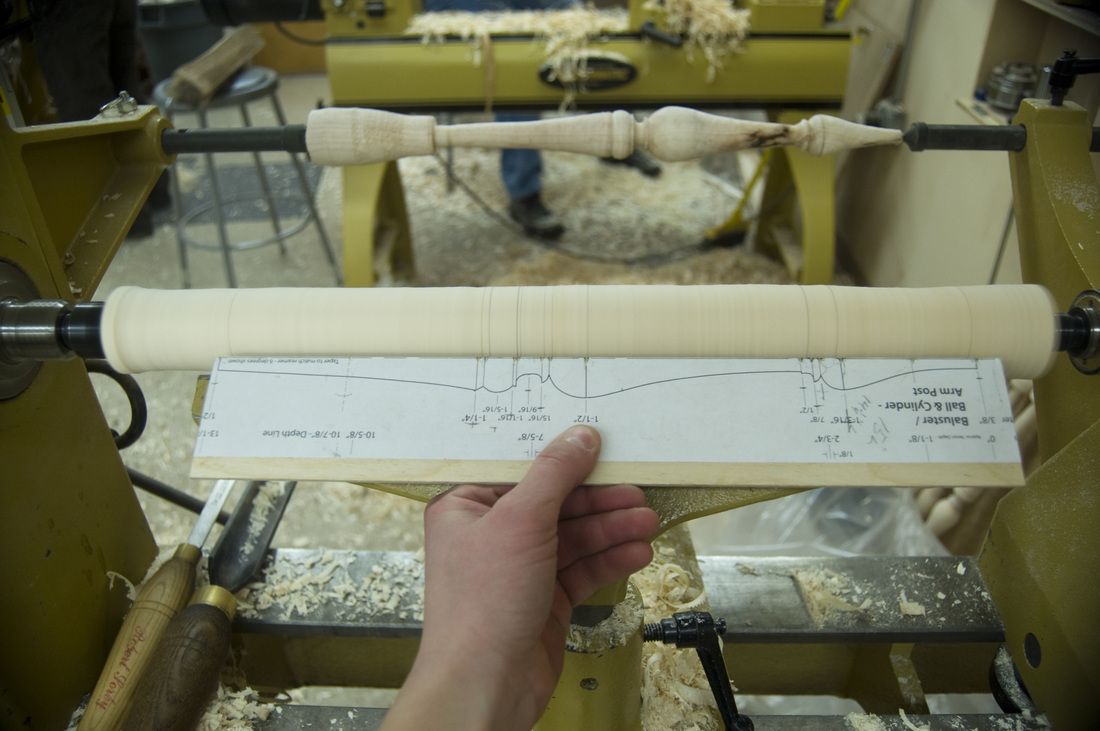
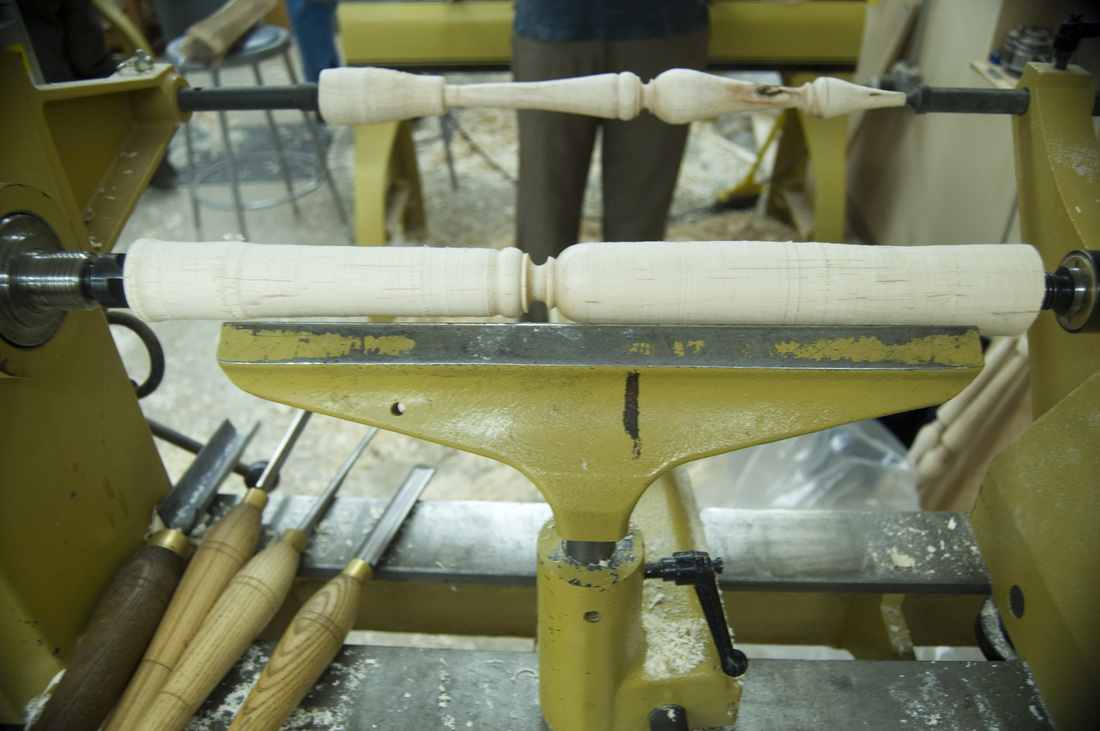
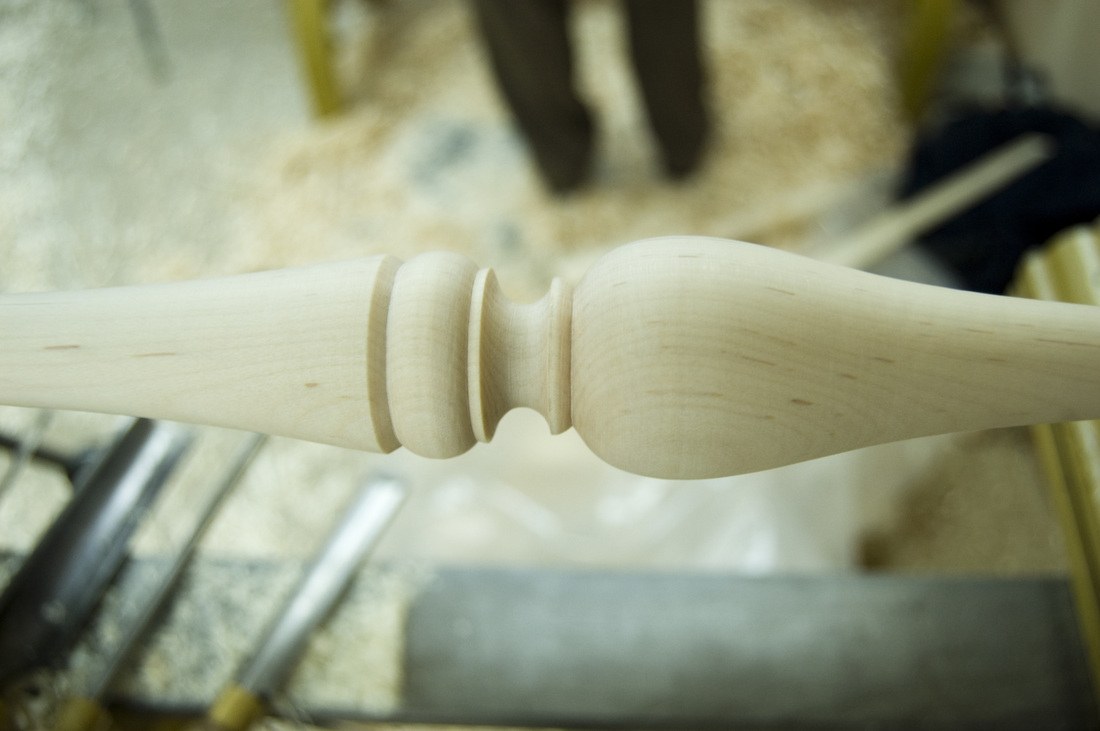
This piece is based on a Seymour Corner Washstand from the federal period, like this. I stayed fairly true to the design as you'll see but decided to do turned legs in order to learn reeding and to practice carving. I also got plenty of stressful practice in turning pommels (the transition in a turning from square to round). Other skills learned in this project include bricking, flush-cutting on the shaper, altering a shaper knife, cutting tenons on curved rails, making a lumber core, veneering, making a curved-front drawer, cockbeading around the drawer, and using a glaze for a mild darkening of the mahogany. Plenty of old lessons were reinforced along the way through that ubiquitous teacher, Mr. Mistakenator, who tends to show up when you think you've got something all figured out. Flaws and all, however, I feel good about this project. I made a greater effort to document the process so there are plenty of photos to check out below. There are some holes in my documentation though so please feel free to comment with any questions you have.
This piece is based on a Seymour Corner Washstand from the federal period, like this. I stayed fairly true to the design as you'll see but decided to do turned legs in order to learn reeding and to practice carving. I also got plenty of stressful practice in turning pommels (the transition in a turning from square to round). Other skills learned in this project include bricking, flush-cutting on the shaper, altering a shaper knife, cutting tenons on curved rails, making a lumber core, veneering, making a curved-front drawer, cockbeading around the drawer, and using a glaze for a mild darkening of the mahogany. Plenty of old lessons were reinforced along the way through that ubiquitous teacher, Mr. Mistakenator, who tends to show up when you think you've got something all figured out. Flaws and all, however, I feel good about this project. I made a greater effort to document the process so there are plenty of photos to check out below. There are some holes in my documentation though so please feel free to comment with any questions you have.


 RSS Feed
